linux 下mysql 导入出错解决
linux 下mysql 导入出错解决
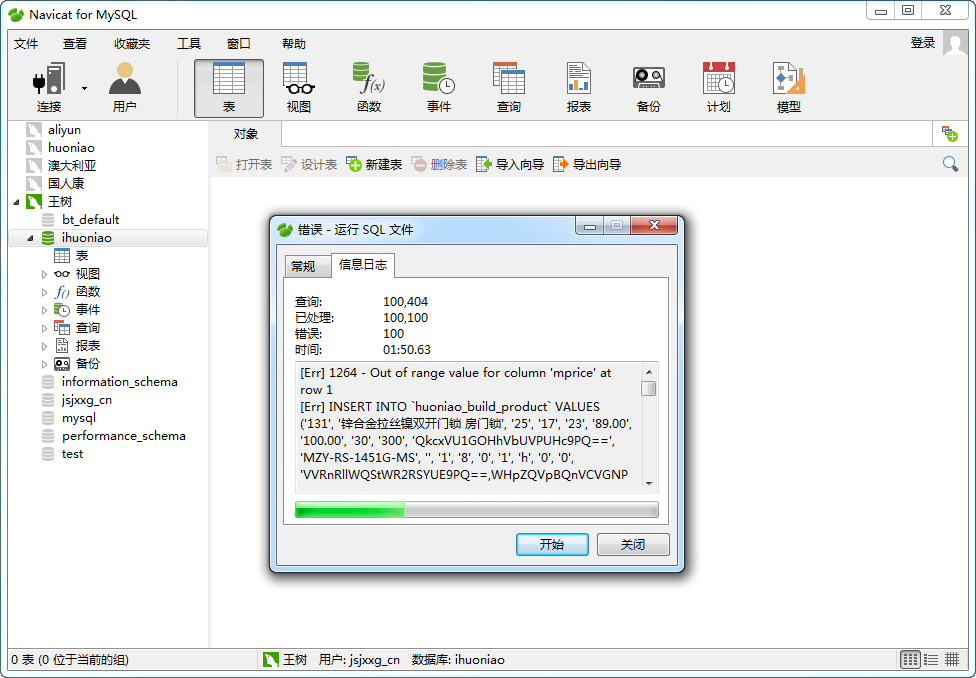
Navicat for MySQL导入SQL数据库出错信息
[Err] 1264 - Out of range value for column 'mprice' at row 1

Xshell 5 登录服务器,输入命令 ps -ef|grep mysql 查一下MYSQL安装目录
[root@gainetbhmjtu ~]# ps -ef|grep mysql
root      6497     1  0 20:20 ?        00:00:00 /bin/sh /www/server/mysql/bin/mysqld_safe --datadir=/www/server/data --pid-file=/www/server/data/gainetbhmjtu.novalocal.pid
mysql     7023  6497  0 20:20 ?        00:00:14 /www/server/mysql/bin/mysqld --basedir=/www/server/mysql --datadir=/www/server/data --plugin-dir=/www/server/mysql/lib/plugin --user=mysql --log-error=/www/server/data/gainetbhmjtu.novalocal.err --open-files-limit=65535 --pid-file=/www/server/data/gainetbhmjtu.novalocal.pid --socket=/tmp/mysql.sock --port=3306
root      7227  7204  0 20:54 pts/0    00:00:00 grep --color=auto mysql
[root@gainetbhmjtu ~]#
通过显示,我们可以看出MYSQL安装目录是/www/server/mysql,数据库文件目录是/www/server/data
我们已经知道MYSQL的安装目录,接下来使用FileZilla FTP Client链接服务器,进入MYSQL安装目录 /www/server/mysql

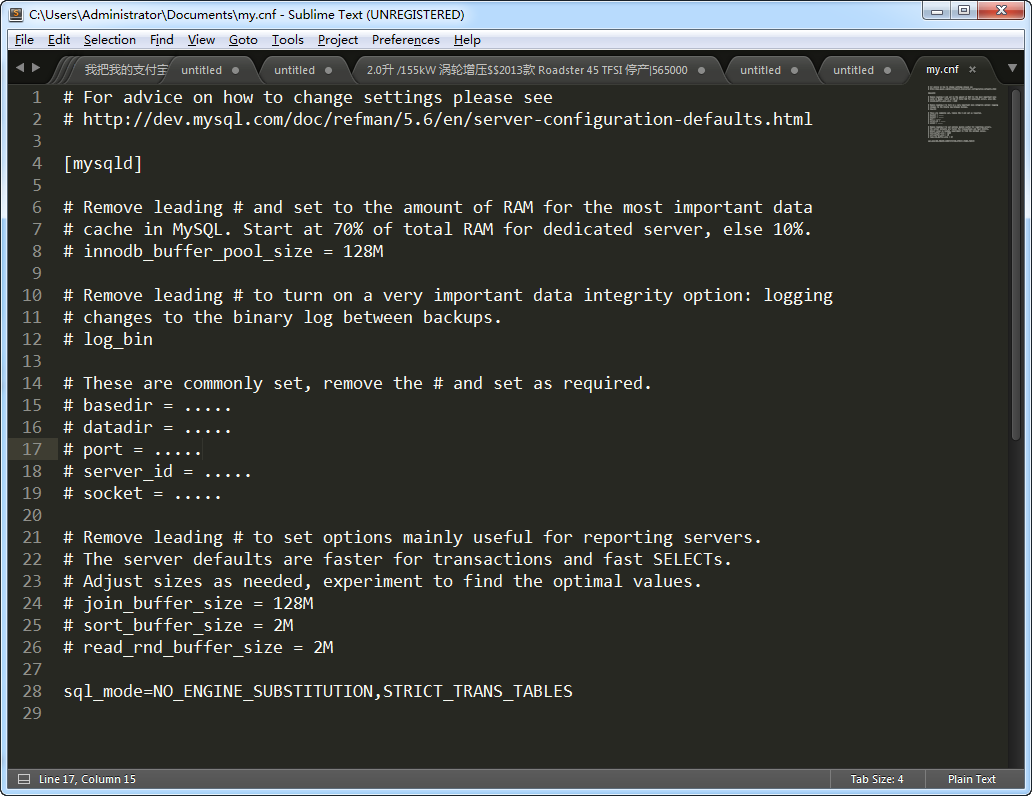
找到my.cnf文件下载到本地,使用Sublime编辑器打开(你也可以使用系统自带的记事本打开),此教程中MYSQL版本是5.6

# For advice on how to change settings please see
# http://dev.mysql.com/doc/refman/5.6/en/server-configuration-defaults.html

[mysqld]

# Remove leading # and set to the amount of RAM for the most important data
# cache in MySQL. Start at 70% of total RAM for dedicated server, else 10%.
# innodb_buffer_pool_size = 128M

# Remove leading # to turn on a very important data integrity option: logging
# changes to the binary log between backups.
# log_bin

# These are commonly set, remove the # and set as required.
# basedir = .....
# datadir = .....
# port = .....
# server_id = .....
# socket = .....

# Remove leading # to set options mainly useful for reporting servers.
# The server defaults are faster for transactions and fast SELECTs.
# Adjust sizes as needed, experiment to find the optimal values.
# join_buffer_size = 128M
# sort_buffer_size = 2M
# read_rnd_buffer_size = 2M

sql_mode=NO_ENGINE_SUBSTITUTION,STRICT_TRANS_TABLES
找到sql-mode这一行,注释掉,下面一行写 sql-mode=NO_AUTO_CREATE_USER,NO_ENGINE_SUBSTITUTION,如下
# For advice on how to change settings please see
# http://dev.mysql.com/doc/refman/5.6/en/server-configuration-defaults.html

[mysqld]

# Remove leading # and set to the amount of RAM for the most important data
# cache in MySQL. Start at 70% of total RAM for dedicated server, else 10%.
# innodb_buffer_pool_size = 128M

# Remove leading # to turn on a very important data integrity option: logging
# changes to the binary log between backups.
# log_bin

# These are commonly set, remove the # and set as required.
# basedir = .....
# datadir = .....
# port = .....
# server_id = .....
# socket = .....

# Remove leading # to set options mainly useful for reporting servers.
# The server defaults are faster for transactions and fast SELECTs.
# Adjust sizes as needed, experiment to find the optimal values.
# join_buffer_size = 128M
# sort_buffer_size = 2M
# read_rnd_buffer_size = 2M

# sql_mode=NO_ENGINE_SUBSTITUTION,STRICT_TRANS_TABLES
sql-mode=NO_AUTO_CREATE_USER,NO_ENGINE_SUBSTITUTION
保存 my.cnf 文件,覆盖到服务器/www/server/mysql/my.cnf,重起MYSQL
[root@gainetbhmjtu ~]# service mysqld restart
Shutting down MySQL....                                    [  OK  ]
Starting MySQL.                                            [  OK  ]
[root@gainetbhmjtu ~]#
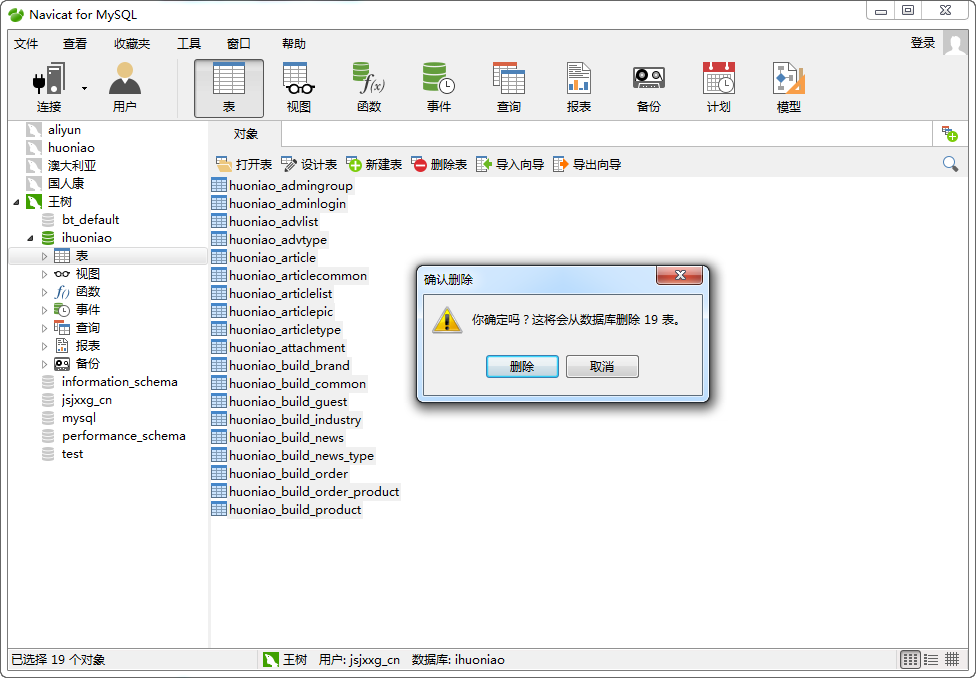
重起MYSQL后,把之前导一半的数据表删除掉

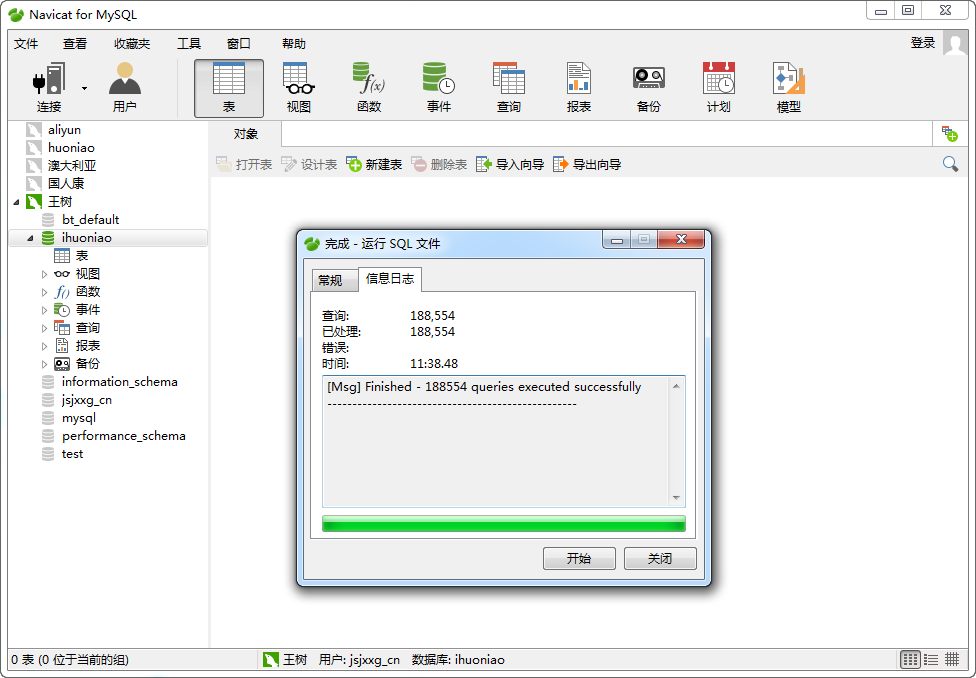
重新继续Navicat for MySQL导入SQL数据库


教程结束 。

